Upgrade Your Bathroom with Heated Floor Mats Installation Guide
Transforming your bathroom into a luxurious haven involves more than just aesthetics. One of the most appealing upgrades is the installation of heated floor mats, which offer comfort and warmth, especially during the colder months. This guide provides a comprehensive overview of how to install heated floor mats in your bathroom, enhancing both functionality and coziness. By following these steps, you can ensure a seamless integration that elevates your bathroom experience.
Benefits of Heated Floor Mats
- Enhanced Comfort: Enjoy warm flooring underfoot, especially during cold seasons.
- Energy Efficiency: Heated floor mats consume less energy compared to traditional heating systems.
- Increased Home Value: A modern bathroom with heated floors can boost your property's market appeal.
- Easy Maintenance: Once installed, heated floor mats require minimal upkeep.
- Safety: Reduces the risk of wet floors, thus preventing slips and falls.
Preparation for Installation
Materials and Tools Required
- Heated floor mats
- Thermostat
- Tile adhesive
- Floor sensor
- Underlayment (if necessary)
- Measuring tape
- Utility knife
- Screwdriver
- Multimeter (for testing)
Pre-Installation Checklist
- Verify the electrical capacity of your bathroom to handle the added load.
- Ensure the subfloor is clean, dry, and level.
- Plan the layout of the heated mats to avoid overlaps and ensure optimal coverage.
- Read the manufacturer's instructions thoroughly.
- Check local building codes for compliance.
Step-by-Step Installation Guide
Step 1: Layout Planning
Begin by sketching a layout plan that indicates where the heated mats will be placed. Decide on the thermostat's location and plan the electrical connections accordingly. Avoid placing mats under fixtures or areas where permanent fixtures will sit. For more detailed guidance, read more about this topic.
Step 2: Prepare the Subfloor
Clean the subfloor thoroughly, removing any debris or dust. If the floor is uneven, consider using a self-leveling compound to create a flat surface. This step is crucial to ensure even heat distribution and avoid any potential damage to the mats.
Step 3: Install the Heated Mats
Roll out the heated mats according to your layout plan. Use adhesive or staples to secure them in place as per the manufacturer's instructions. Be cautious not to cut through the heating wires. Learn more in this detailed guide.
Step 4: Connect the Thermostat
Install the thermostat on the wall and connect it to the heated mats and the power supply. Follow the wiring diagram provided by the manufacturer. It's advisable to hire a licensed electrician for this step to ensure safety and compliance with electrical codes.
Step 5: Test the System
Before laying tiles, test the system using a multimeter to ensure it operates correctly. This step is vital to confirm that the mats are heating evenly and that there are no electrical issues. Explore further insights here.
Step 6: Install the Flooring
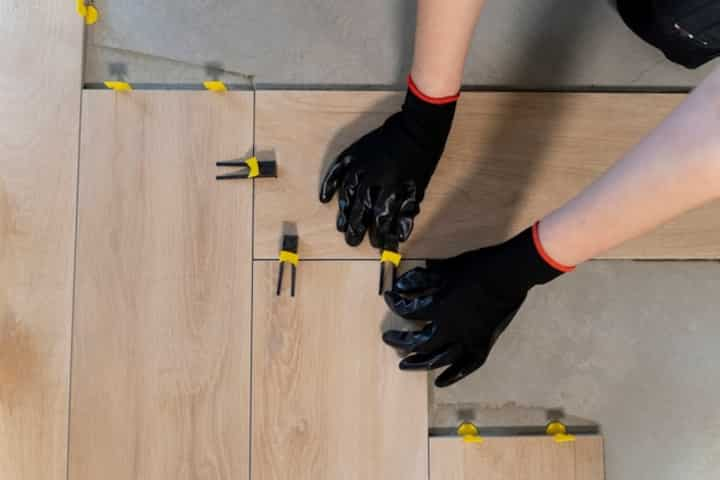
Once the system is tested and operational, proceed with the tile installation. Use a suitable adhesive to lay the tiles over the heated mats. Ensure that the tiles are properly aligned and allow sufficient time for curing before use. Find additional information here.
Final Thoughts
Installing heated floor mats in your bathroom is a worthwhile investment that enhances comfort and adds value to your home. With careful planning and execution, this upgrade can be accomplished with minimal disruption and maximum satisfaction. Whether you're a seasoned DIY enthusiast or prefer professional assistance, this guide provides the foundational knowledge to get started. For more insights and detailed instructions, explore further insights here.